


Table of Contents
ToggleKitchen deep cleaning isn’t just about making things look nice, it’s about restoring function and catching problems before they become expensive fixes. Unlike daily wiping, a thorough kitchen deep clean tackles the grime, grease, and buildup that accumulates in overlooked corners, inside appliances, and behind cabinet hardware. Whether you’re prepping for a family gathering, dealing with a neglected kitchen, or simply ready to reclaim your space, a methodical approach saves time and prevents frustration. This guide walks you through the entire process in a single weekend, breaking down the work into manageable steps so you can tackle it alone or rope in a family member.
Key Takeaways
- Kitchen deep cleaning prevents expensive appliance breakdowns and extends surface longevity by removing grease buildup, bacteria, and mold that daily wiping misses.
- Prepare all cleaning supplies the night before and follow the top-to-bottom method to ensure gravity works in your favor and no area is overlooked.
- Tackle high-priority areas like the range hood, stovetop, refrigerator interior, and oven with appropriate degreasers and dedicated time for products to break down stubborn grime.
- Clean hard-to-reach spots around cabinet hardware, drawer tracks, and appliance gaps using small brushes, vinegar solutions, and steamers to eliminate hidden dust and bacteria.
- Maintain your kitchen deep cleaning results with simple daily habits like wiping counters after meals, weekly appliance touch-ups, and monthly degreasing to reduce the need for intensive future cleaning.
Why Kitchen Deep Cleaning Matters More Than Regular Wiping
A quick daily wipe-down handles visible spills and crumbs, but it leaves layers of grease, dust, and bacteria thriving in places you can’t see. Kitchen surfaces attract particulates from cooking, oil vapor settles on cabinet tops, flour dust embeds in textured finishes, and food debris accumulates between appliances.
Deep cleaning addresses these hidden problems. Over time, grease buildup can become sticky and attract dirt, making surfaces harder to maintain. Inside ovens and refrigerators, spills and splatters get baked on, harbor mold, and reduce appliance efficiency. Behind and under your microwave, dust clogs vents and reduces cooling capacity.
Beyond appearance, deep cleaning is preventative maintenance. Removing buildup extends the life of finishes, prevents wood deterioration, and improves food safety by eliminating hidden bacteria colonies. A whole house cleaning checklist approach ensures no corner is overlooked, and the kitchen, where food is prepared, deserves extra scrutiny. Spending a weekend now saves you from dealing with permanent stains, mold, or appliance breakdowns later.
Get Your Supplies Ready Before You Start
Prep your supplies the night before so you’re not hunting for rubber gloves halfway through Saturday morning. Here’s what you’ll need:
Cleaning Agents:
• Degreaser (for stovetops, range hoods, and cabinet fronts), dilutable concentrate works well for large kitchen jobs
• Glass cleaner (for cabinet glass and windows)
• All-purpose surface cleaner (for counters, cabinet exteriors, and appliance fronts)
• Oven cleaner (read instructions carefully: some require ventilation)
• Dish soap and hot water (surprisingly effective for light grease)
• Baking soda and white vinegar (natural, budget-friendly alternatives)
• Microfiber cloths or paper towels (microfiber reduces streaking and reuses: paper handles grease better for initial passes)
Tools:
• Old toothbrush or small brush (for tight spots around hinges, under cabinet hardware)
• Sponges and scrub pads (non-abrasive for finished surfaces: abrasive for stovetops)
• Mop and bucket (for floors)
• Vacuum with attachments (before mopping to catch crumbs)
Safety & Comfort:
• Rubber gloves (protects hands from chemicals and hot water)
• N95 mask (if using strong chemicals or dealing with mold)
• Eye protection (when spraying overhead or handling ammonia-based products)
• Open windows or exhaust fan (for ventilation)
Pour cleaners into spray bottles and label them clearly. This prevents mixing dangerous chemicals (never combine bleach and ammonia, it creates toxic gas) and makes grab-and-go easier. A rolling cart or caddy keeps supplies portable as you move through the kitchen.
Clean From Top to Bottom: The Essential Order
The golden rule of cleaning is working top to bottom so dust and drips land on areas you haven’t cleaned yet. Gravity is your ally.
Step 1: Clear and Declutter
Remove everything from counters, shelves, and the sink. This forces you to actually clean the surfaces underneath instead of moving bottles around. It also lets you toss expired items, dried-up herbs, and broken gadgets you’ve been avoiding. A good rule: if you haven’t used it in a year and it’s not a wedding gift with strings attached, it goes.
Step 2: Degrease High Surfaces
Start with the range hood, top of cabinets, and tops of light fixtures. Spray degreaser, let it sit for 2–3 minutes (read the product instructions), then wipe with a damp cloth. Don’t rush this step, grease is stubborn and needs time to break down. For the range hood filter, soak it in hot, soapy water in the bathtub for 15 minutes, then scrub with an old toothbrush.
Step 3: Clean Cabinet Fronts and Glass
Use your all-purpose cleaner on cabinet doors, handles, and frames. For glass-front cabinets, spray glass cleaner and wipe in one direction to avoid streaks. Wipe down the microwave exterior and refrigerator front, these collect fingerprints and dust. A steamer can work well here too: a steamer for cleaning house uses heat and minimal chemicals, ideal for families avoiding harsh fumes.
Step 4: Tackle the Stovetop and Backsplash
For a glass or smooth stovetop, remove grates (if applicable) and soak them separately. Apply degreaser to the cooktop surface, let it sit, then scrub with a non-abrasive pad. For a tile or painted backsplash, spray and wipe. If grout is discolored, a small brush and a paste of baking soda and water can help.
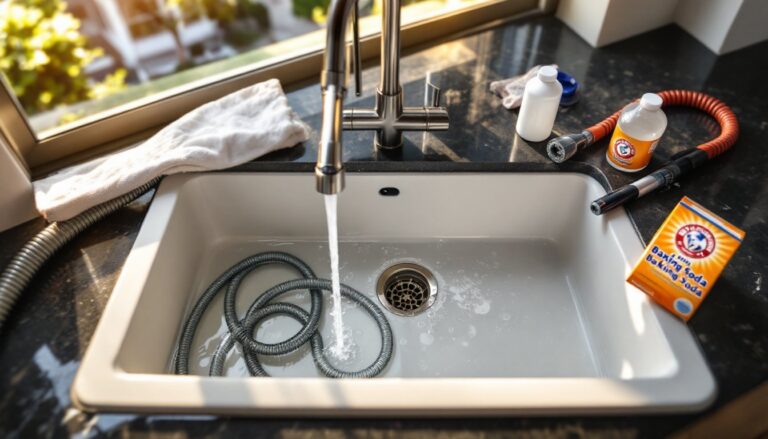
Step 5: Deep-Clean the Sink
Fill the sink with hot water, add dish soap, and soak any drain strainers or sink accessories for 10 minutes. Scrub the sink basin with a sponge, paying attention to corners and the drain area where bacteria hide. Rinse thoroughly. For a garbage disposal, run cold water and a handful of ice with a tablespoon of baking soda to freshen it.
Step 6: Counters and Edges
Wipe down all horizontal surfaces with a damp cloth and all-purpose cleaner. Don’t forget the edges where counters meet the wall, dust and crumbs accumulate there. Wipe cabinet bottoms if they’re within arm’s reach.
Step 7: Floors
Vacuum thoroughly, getting under appliances if you can move them (or at least pull them out slightly). Sweep corners and crevices. Mop with diluted floor cleaner appropriate to your flooring type. Work backward toward the kitchen entrance so you don’t step on wet floors as you leave.
Cabinets and Appliances That Need Extra Attention
Cabinets and appliances are where deep cleaning shows the most impact. Here’s how to tackle them without cutting corners.
Interior Cabinet Cleaning
Open cabinet doors and wipe shelves with a damp cloth. Remove items, wipe the shelf, replace items in order. If shelves are sticky (from spills), use hot soapy water and let them air-dry before returning dishes. This is also the time to check for evidence of pests (droppings, dead insects) or moisture damage. If you find pest droppings or mold, the situation may warrant professional intervention.
Refrigerator Deep Clean
Unplug the fridge or set it to its lowest temperature. Remove shelves and drawers, and soak them in warm soapy water. Wipe the interior walls with a damp cloth and mild cleaner. Check the gasket (rubber seal around the door), it traps bacteria and moisture. Wipe it with a cloth dampened in a 1:1 vinegar-and-water solution. Let shelves dry completely before replacing them to avoid water pooling.
Oven Cleaning
If your oven has a self-cleaning cycle, run it according to manufacturer instructions and ventilate well. For manual cleaning, apply oven cleaner and follow the product’s time recommendations. Some products require 12+ hours to work, so start this step Saturday morning if you want results by evening. Wear gloves and eye protection. Wipe thoroughly with a damp cloth until residue is gone. For glass doors, use glass cleaner afterward.
Microwave
Fill a microwave-safe bowl with equal parts water and white vinegar, add a lemon slice, and microwave on high for 5 minutes. The steam loosens splatters. Let it cool, then wipe interior and exterior surfaces. This method uses no harsh chemicals and leaves your microwave smelling fresh.
Dishwasher
Run an empty cycle with a bowl of white vinegar on the top rack to dissolve mineral deposits and grease buildup. This cleans the interior without scrubbing.
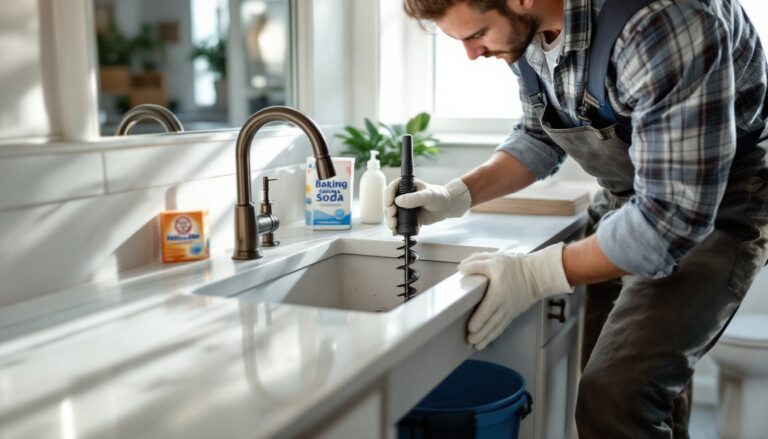
Tackle Those Hard-to-Reach Spots
The spaces nobody thinks about during a regular clean are where problems hide. Use an old toothbrush, a small bottle brush, or pipe cleaners to access tight areas. Wipe around cabinet hardware, hinge joints, and drawer tracks. Behind and under the range can harbor grease and crumbs, pull it out slightly and vacuum and wipe the space behind. The gap between refrigerator and counter collects dust: slide the fridge forward gently and clean. Top moldings and corners where walls meet cabinets also accumulate dust. A damp cloth wrapped around a ruler works well here. Some areas might benefit from pressure or steam: 10 quick cleaning tips can include tools like steamers that handle stubborn buildup without harsh chemicals.
Pro Tips for Maintaining Your Sparkling Kitchen
A deep clean only stays deep if you maintain it. Small habits prevent buildup and reduce the frequency of major cleanings.
Daily Habits That Matter
Wipe stovetops and counters after each meal. Use a damp microfiber cloth, it’s faster than you think. Wipe the sink before bed so soap residue and food particles don’t harden overnight. Take 60 seconds to clear clutter from counters each evening: a cluttered counter collects dust and makes cleaning harder.
Weekly Touch-Ups
Wipe cabinet fronts and appliances weekly. Degrease the range hood filter monthly (soak and rinse: you’ll recognize when it needs it). Run the dishwasher cleaning cycle with vinegar once a month. Mop the floor weekly, more often if you have kids or pets.
Seasonal Refresh
Every 3 months, pull out movable appliances (toaster, coffee maker, mixer) and vacuum and wipe the space behind and under them. Clean inside the microwave thoroughly. Wipe down the interior of cabinets you use frequently.
Product Longevity
Cabinet hardware, counters, and finishes last longer when they’re not sitting under layers of grease and grime. A quick weekly wipe is preventative maintenance. For detailed before-and-after inspiration, house cleaning pictures can motivate you to keep your space looking as fresh as the day you cleaned it.
Keep a Cleaning Caddy Accessible
Store your most-used supplies (all-purpose cleaner, microfiber cloths, sponge) in a small caddy under the sink. Easy access means you’re more likely to grab it and give things a quick wipe. Barrier to access = reason to skip cleaning.
Conclusion
A kitchen deep clean is an investment in both appearance and function. By following this step-by-step approach over one weekend, you’ll restore your kitchen to a state where food preparation feels pleasant again and grime doesn’t accumulate in overlooked corners. The key is working top to bottom, preparing supplies in advance, and giving grease time to break down before scrubbing. Maintain the results with daily wiping and weekly touch-ups, and your next deep clean won’t feel as daunting. Your kitchen will thank you, and so will your stress levels.