
Table of Contents
ToggleMoving out is stressful enough without wondering if you’ll lose your security deposit to a messy apartment. Move out deep cleaning services, or doing it yourself, can be the difference between walking away whole or kissing hundreds of dollars goodbye. Landlords and property managers scrutinize every corner: behind appliances, inside cabinets, grout lines, and light fixtures. A quick vacuum and wipe-down won’t cut it. This guide walks you through the essential move out deep cleaning tasks that actually matter, so you leave your rental spotless and protect your deposit.
Key Takeaways
- Move out deep cleaning services protect your security deposit by removing ambiguity and reducing landlord deductions, which can exceed $1,500 compared to professional cleaning costs of $200–$500.
- Focus your deep cleaning efforts on high-scrutiny areas: kitchens (refrigerator, stovetop, oven, microwave), bathrooms (toilet, shower, grout), and floors, as these are where landlords most often find reasons to deduct.
- Lease agreements require returning units in ‘move-in condition,’ meaning you’re responsible for damage and grime you created, but acceptable wear from your arrival is the landlord’s responsibility.
- Professional move out deep cleaning provides expertise, specialized equipment (steamers, pressure washers, HEPA vacuums), and often guarantees post-move repairs, saving you 6–10 hours of labor on a DIY deep clean.
- Document your work with photos before moving out and keep receipts for supplies or services; these are proof in disputes and can support claims in small claims court.
- A hybrid approach—hiring professionals for kitchens and bathrooms (deposit danger zones) while handling floors and surfaces yourself—balances cost savings with deposit protection.
Why Move Out Deep Cleaning Matters for Your Security Deposit
Your security deposit typically covers rent for one month, but landlords can deduct for “normal wear and tear” versus damage or neglect. The problem? Definitions vary wildly. A landlord in one state might overlook scuff marks: another might deduct $300 for the same thing. Deep cleaning isn’t just about appearance, it’s documentation. When a space is visibly clean and well-maintained, you’ve got a stronger case if disputes arise later.
Most lease agreements require tenants to return the unit in “broom clean” or “move-in condition.” That phrase has teeth. It means not just clean, but match-the-move-in-condition clean. If the stove had grease stains when you arrived, that’s acceptable. If you created new damage or left stubborn grime behind, that’s on you. Deep cleaning protects you because it removes ambiguity, landlords are less likely to nitpick a property that shines.
The financial stakes are real. Top Tips for Finding shows that a professional clean can cost $200–$500 depending on unit size and condition, but losing a full deposit can run $1,500 or more. Doing it yourself costs only supplies but requires hours of labor. Either way, the investment protects your money.
Essential Areas to Deep Clean Before Moving Out
Kitchen and Appliances
The kitchen is where landlords look hardest. Start with the refrigerator: empty it completely, remove shelves and drawers, and soak them in hot soapy water. Wipe down interior walls and the gasket (rubber seal) with a damp cloth, food residue there is a red flag. Defrost if needed and dry thoroughly before reassembling.
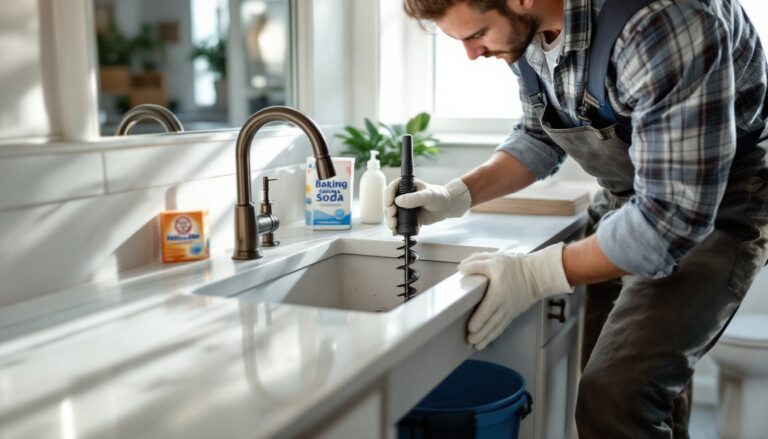
The stovetop and oven get heavy scrutiny. For a gas cooktop, remove grates and burner caps, soak them, and scrub with a degreaser. Wipe the surrounding surface and stovetop frame. For electric coils, simply wipe around them, don’t submerge. The oven requires serious attention: spray the interior with a commercial oven cleaner (follow label safety warnings), let it sit overnight, then scrape with a plastic scraper and wipe clean. Alternatively, a paste of baking soda and water works slowly but safely, apply, let sit 12 hours, then scrub.
Microwave interiors harbor splattered food. Boil water with lemon in a microwave-safe bowl for 3 minutes to loosen grime, then wipe. Don’t forget the turntable and the underside of the door seal. For the dishwasher, run an empty hot cycle with a cup of white vinegar to clear mineral deposits, then wipe the door and edges. Countertops, backsplash, and sink need scrubbing, use a degreaser for stubborn stains. Craigslist House Cleaning: Find mentions that dried-on splatters often require soaking or a plastic scraper to avoid damaging surfaces.
Under-cabinet areas and the tops of cabinets collect dust and grease. Use a microfiber cloth slightly dampened with degreaser. Wipe cabinet doors, handles, and hinges, these high-touch areas show dirt instantly.
Bathrooms and Fixtures
Bathrooms demand attention to detail. Start with the toilet: flush, then use a toilet brush with a strong cleaner to scrub the bowl, especially the waterline where stains hide. For stubborn rings, let a commercial toilet bowl cleaner sit for 15 minutes. Wipe the tank, lid, and exterior base with a disinfectant. Don’t miss behind the toilet, use a thin brush or old toothbrush to clean that tight gap.
The shower and bathtub are notorious deposit-loss zones. Soap scum, mold, and rust stains feel impossible but yield to the right tools. Mix equal parts white vinegar and dish soap in a spray bottle for a gentler approach, or use a commercial soap-scum remover for stubborn buildup. Spray, let sit 15–20 minutes, then scrub with a non-abrasive sponge. For grout, a grout brush or old toothbrush with a bleach-based cleaner (in ventilated areas only: wear gloves and a mask) cuts through mold. Rinse exhaustively to remove all residue, bleach left behind can damage future décor or finishes.
Sinks and faucets need polishing. Hard water deposits leave white rings: vinegar removes these effectively. Dry with a microfiber cloth to prevent streaks. Pay attention to faucet bases where soap and water pool. Mirrors and light fixtures should be streak-free, use a glass cleaner and lint-free cloth. Exhaust fans collect dust: wipe the cover and grill with a damp cloth.
Floor grouting in tile bathrooms is tedious but worth it. A grout brush or old toothbrush with bleach solution (in a well-ventilated space: wear gloves) restores appearance. Seal grout with a clear grout sealer after cleaning to protect your deposit against staining claims.
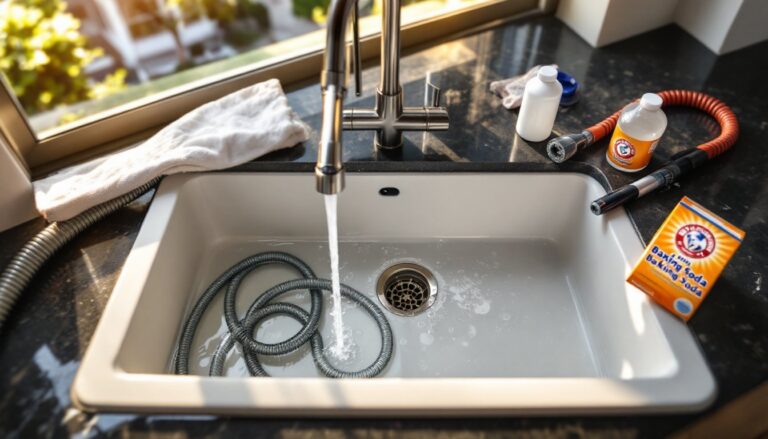
Floors, Walls, and Baseboards
Floors are the foundation of a clean impression. Vacuum thoroughly first, this removes dust, pet hair, and debris so mopping isn’t pushing dirt around. For carpeted areas, vacuum in multiple directions, paying special attention to corners and closets. If the carpet has stains, spot-clean with a rental carpet cleaner ($20–$40 per day from grocery stores or hardware retailers) or hire a professional, landlords often expect it for move-outs.
Hard floors (tile, laminate, vinyl, hardwood) need mopping. Use a damp, not wet, mop to avoid water damage. For laminate or hardwood, excess water swells the material permanently. Hardwood sometimes requires a wood-specific cleaner: check your lease or the original finish. Grout between tiles responds well to the grout-brush method mentioned in the bathroom section. Dry floors immediately with a clean cloth to prevent streaks and water spots.
Walls and baseboards reveal neglect instantly. Walk around with a pencil eraser and gently test wall marks, many rub out. For stubborn scuffs, Magic Erasers (melamine foam pads) work wonders but test in a hidden spot first as they can remove some paint finishes. Use light pressure. For greasy kitchen walls, a degreaser and cloth remove buildup. Baseboards accumulate dust and pet hair: wipe with a damp cloth, paying extra attention to corners. Light switches and door handles accumulate fingerprints, wipe these frequently-touched spots with a disinfectant.
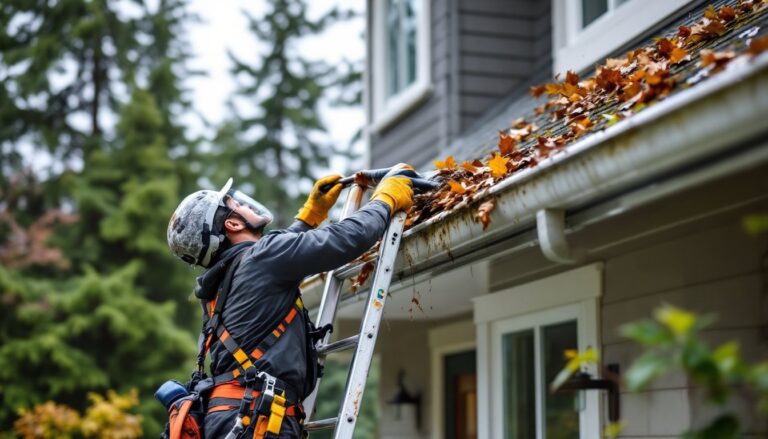
Light fixtures, ceiling fans, and vents often collect dust. Wipe shades, covers, and blades. Replace burnt-out bulbs so the space appears well-maintained. Smoke detectors and CO detectors should be dust-free and functional, test them before leaving. Windows inside and out should be clear. Use a glass cleaner or vinegar-and-water solution, and a lint-free cloth or newspaper to avoid streaks. Don’t forget screens and window sills where dust and debris hide.
Closets are small but inspected carefully. Vacuum, wipe shelves, and ensure no boxes or trash remain. Landlords check closet rods for damage and cleanliness too.
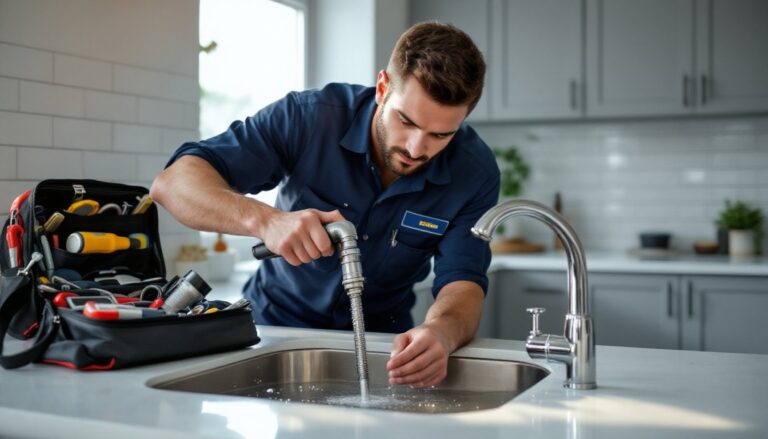
DIY Vs. Professional Move Out Deep Cleaning Services
DIY Deep Cleaning saves money but costs time and elbow grease. A thorough move-out clean typically takes 6–10 hours for a one- or two-bedroom unit. You’ll supply your own tools and products, basic supplies (disinfectant, degreaser, vinegar, baking soda, sponges, cloths, mop) run $30–$60. The advantage: you control quality and can spot-check areas yourself. The catch: you’re exhausted before or after moving day, and if you miss something, you lose the deposit.
Professional Move Out Deep Cleaning Services cost more upfront ($200–$500 for a small apartment, $500–$1,500 for a larger house) but provide guarantees and expertise. Services typically include all areas listed above, often with specialized equipment like carpet steamers, pressure washers, or HEPA-filter vacuums. Professionals work faster and more thoroughly because they do this daily. Many services offer a “move-in inspection” clause, if the landlord finds issues post-move, they’ll address them without additional charge.
When choosing professionals, Why Professional Cleaning is outlines that credentials and insurance matter. Check reviews on local service sites (Google, Yelp, Angi) and ask if they’re bonded and insured, this protects you if damage occurs. Get a written estimate and confirm what’s included. Some services charge extra for heavy stains, pet odors, or large units.
For a hybrid approach, hire professionals for kitchens and bathrooms (the deposit danger zones) and tackle floors and surfaces yourself. This balances cost and security. Document everything with photos before you leave, they’re proof if disputes arise later. House Cleaning Service Fort notes that pre-cleaning walk-throughs with the landlord or property manager can also prevent surprises. Ask if they’ll do a final inspection before you lose the keys.
Conclusion
Move out deep cleaning isn’t optional if you want your security deposit back. Whether you tackle it yourself or hire professionals, the stakes are high enough to deserve real effort. Focus on the kitchen, bathrooms, floors, walls, and fixtures, these are where landlords find reasons to deduct. Keep receipts for cleaning supplies or professional services: some tenants recover costs in small claims court if disputes occur. Take photos of the clean space before you leave. With a thorough approach, you’ll walk away confident your deposit is safe and your next chapter starts on solid financial footing.